Hi there! Have your students mastered CVC words and some CVCC/CCVC words? It may be time to move on digraphs!
What is a Digraph?
A digraph is when 2 letters make one sound. There are consonant digraphs and vowel digraphs, but in Kindergarten typically only the consonant digraphs are introduced so we will be focusing on those! I am following the scope & sequence of the phonics program my son’s school uses, so the digraphs I will be focusing on are the digraphs -ck, sh, th, ch, ph, wh, -ng and -nk.
How to Introduce Digraphs:
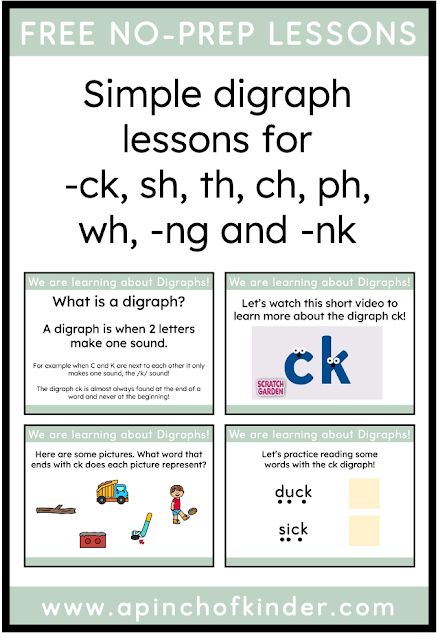
I like to introduce one digraph at a time and do a short lesson. I teach the students that digraphs are 2 letters that make one sound and then take a day or two and teach each digraph separately.
Want my FREE no-prep digraph lessons? Click here: https://docs.google.com/presentation/d/1w9vaw0alUe2_T_OP4EzRVfzmpFjgls5LY7fe4hyldrU/copy or on the image below to make a copy!
Digraph Centres
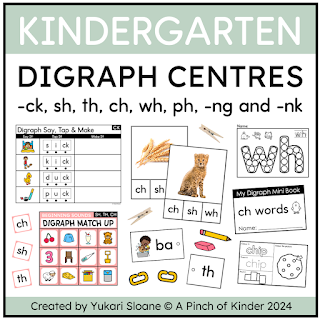
After we introduce each digraph we start putting out some digraph centres so students can practice reading and writing with the digraphs we have learned! Here are some of our favourites:
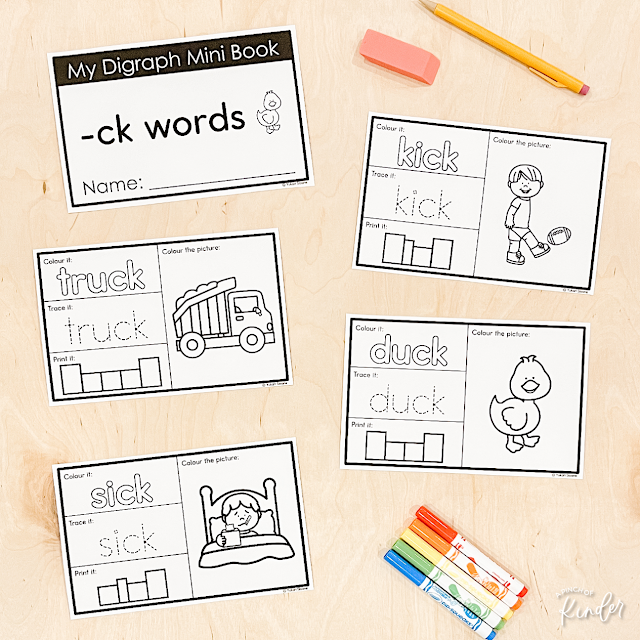
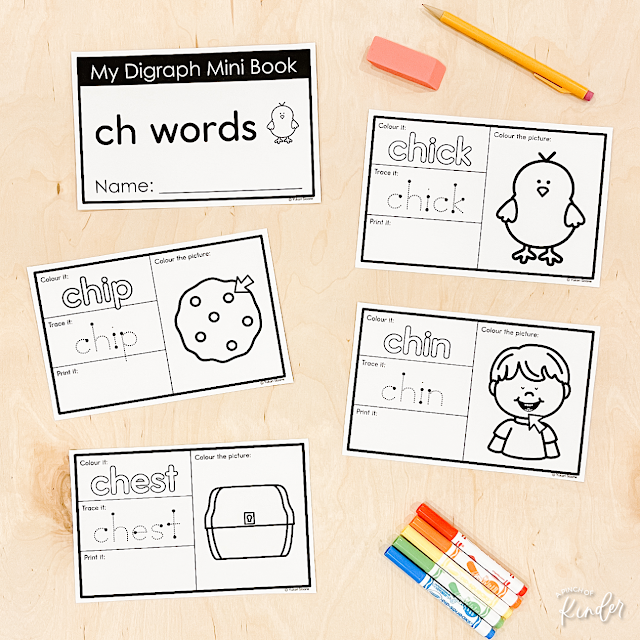
1. My Digraph Mini Book
My students always love mini books so I knew I had to make some for digraphs too! I kept the words as decodable as possible so students could practice sounding out the words 🙂
There are 2 versions, one with tracing and handwriting boxes and another with tracing (with beginning dots) and no handwriting boxes. My own little guy hates handwriting boxes and needs more space, so I’m hoping this helps you differentiate, especially if you have any littles who are the same!
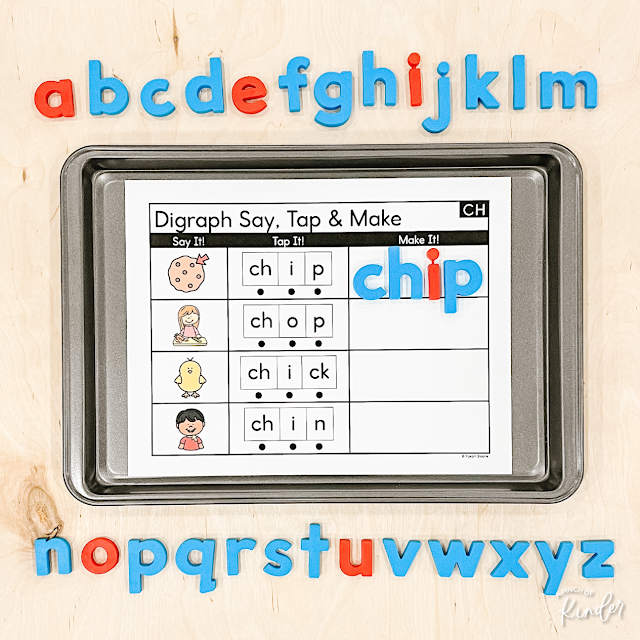
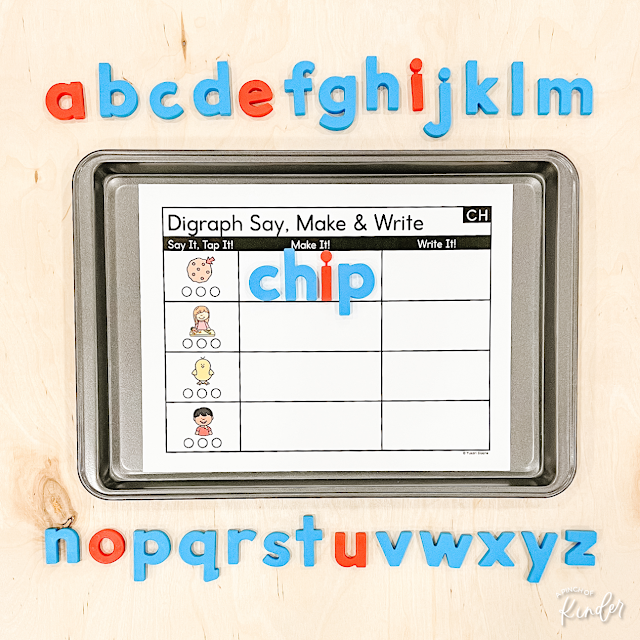
2. Digraph Say, Tap & Make and Say, Make & Write
This is a two part centre. I introduce the “Say, Tap & Make” centre first to introduce students to the words containing the focus digraph and to have students practice isolating the sounds in the words and building the word.
Then we introduce this version, where students will have to tap the sounds, figure out the letters that each sound represents and make it (I use magnetic letters but any small letter manipulative will work!) and then write the word! If your littles are not quite ready to write on their own, there is a tracing version you can use as well!
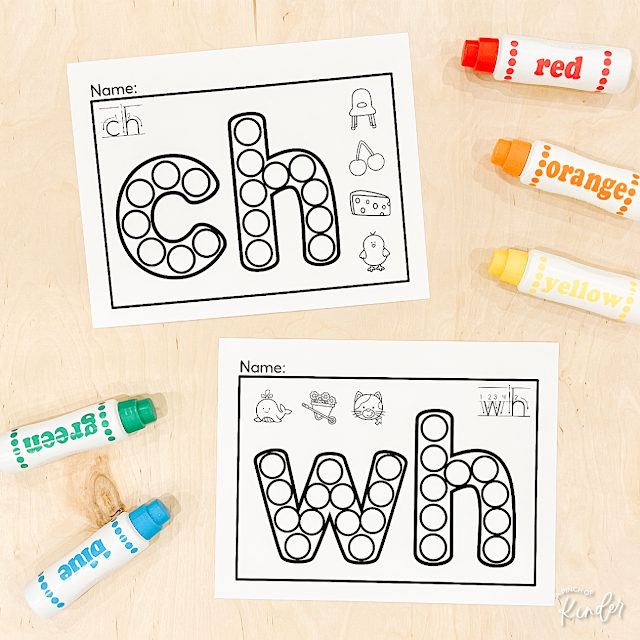
3. Digraph Dot It
My students also always LOVE bingo dabbers so I created these bingo dabber pages! Students will practice forming the letters of each digraph and then they can colour the pictures if they wish.
Not keen on using so much paper? There is a version with the name writing omitted and the pictures in colour that you can print, laminate and set out with small manipulatives like pom poms or magnetic chips too 🙂
Here’s an example of using it with magnetic chips:
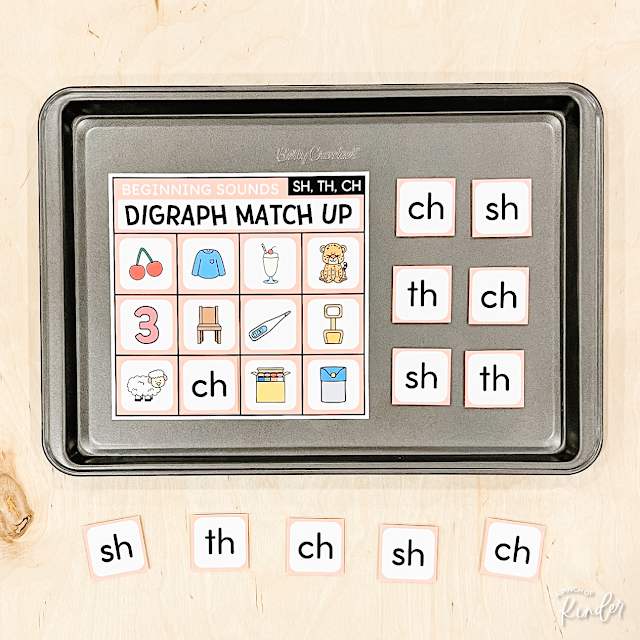
4. Digraph Match Up
Being able to hear which digraph is at the beginning of a word is the first step to encoding digraph words! This centre helps develop that skill 🙂 Students will look at the picture, say the word and find the digraph that begins with that letter!
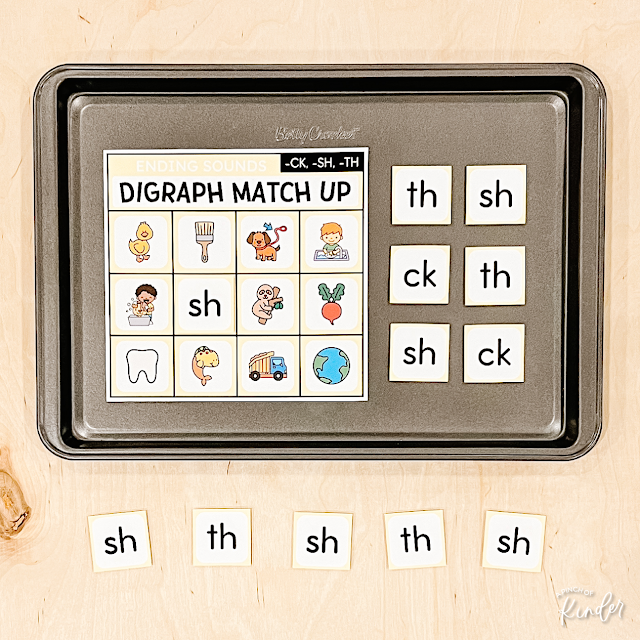
Students can also work on hearing and identifying digraphs at the end of words with the “Ending Sounds Digraph Match Up”!
Tip: I like to put magnetic dots on the back of the cards and set out the mat on a cookie sheet. This way the card don’t slide around (which can be frustrating for some of our littles!)
5. Beginning Digraph Clip Cards
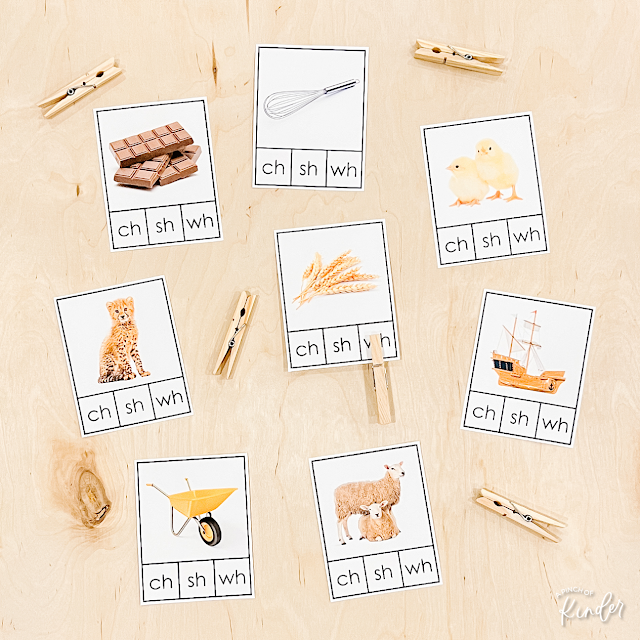
Another way to practice hearing and identifying digraphs at the beginning and words is with these clip cards! My students love activities with clothes pins and they are great for strengthening finger muscles and improving fine motor skills!
6. Linking Chain Puzzles
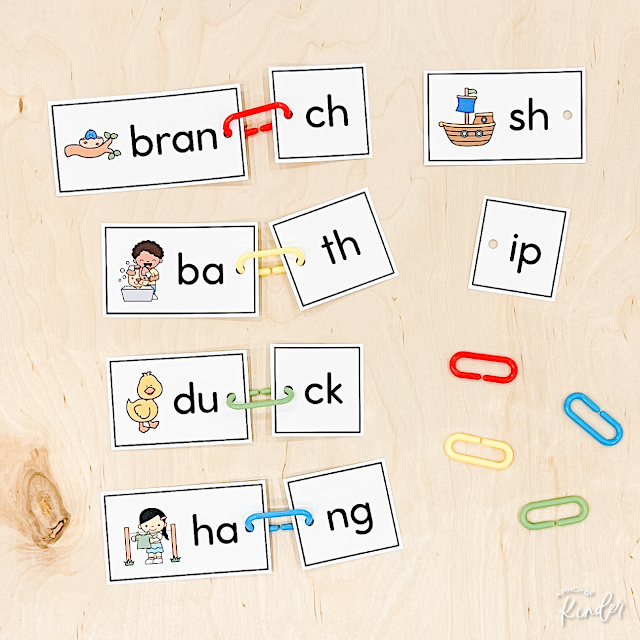
Here’s another way to practice blending the sounds in words with digraphs and work on fine motor skills at the same time! Students will look at the picture, sound out the first part of the word and then find and link the missing part.
I hope you were able to grab some ideas to use in your classroom!
– Yukari


