March 2020
Hi guys! I started writing this post in March but then the school closures happened and I forgot that I had even started this post.. but I recently found it and thought I would still share it since it has a free freebies in the post!
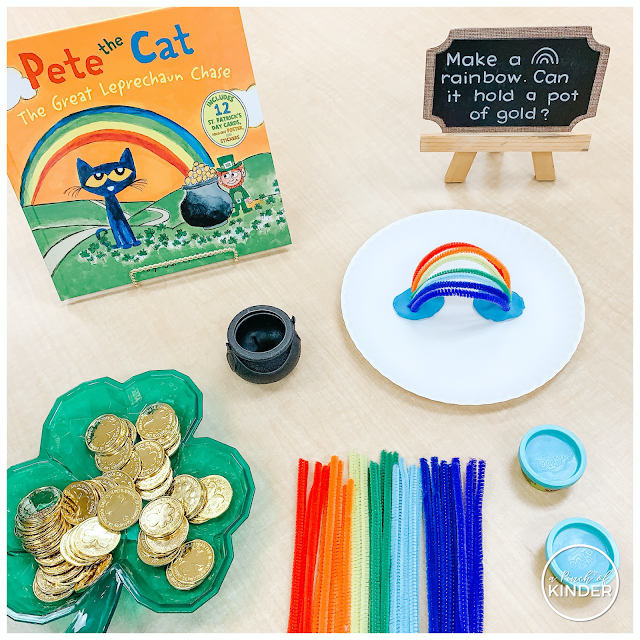
1. PIPE CLEANER RAINBOW STEM
I love this centre because it incorporates fine motor skills, STEM and counting! My kiddos always love hands-on centres and they saw me setting this up on Friday afternoon and wanted to play right away so I know this will be a hit next week! Thank you @fdk_learnandplay for this idea!
Sources:
Clover tray, gold coins, black pots: Party City
Chalkboard: Michaels
Wire book stand: Dollarama
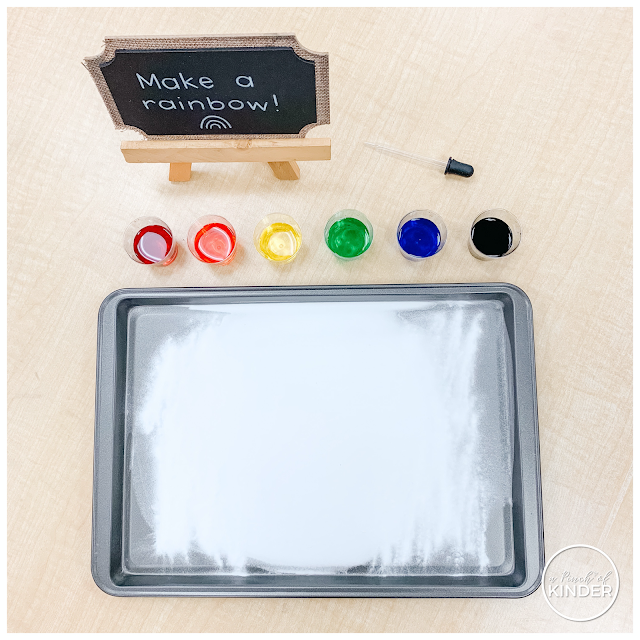
2. VINEGAR + BAKING SODA EXPLORATION
We did this one the first week of March and the kids LOVED it. All we did was put some baking soda on a cookie sheet and filled 6 plastic shot glasses with vinegar and food colouring. We set it out with eye droppers and an invitation to make a rainbow, but really they could make any picture the wanted. This uses a lot of baking soda, so I sent out a message on Remind to our parents after the first day and we were donated 4 boxes! So thankful for our amazing and supportive parents!
The eye droppers are from Amazon. You can find them here: https://amzn.to/32YTShw
3. ST. PATRICK’S DAY THEMED SENSORY BIN
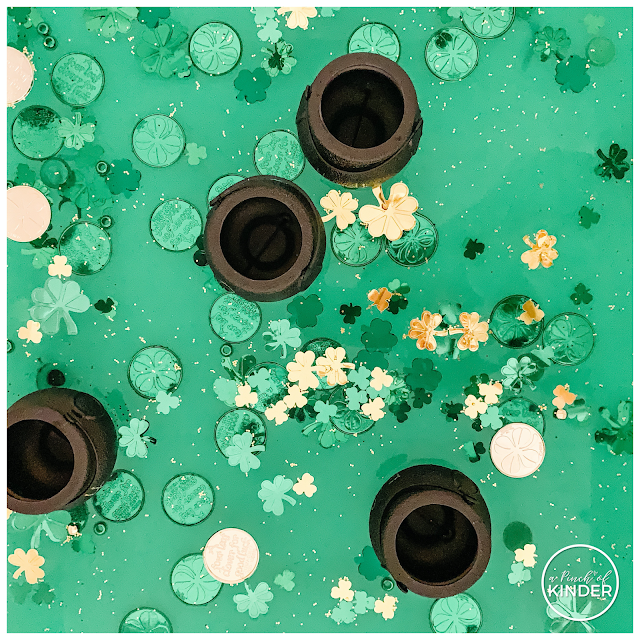
This was our sensory bin for the first week of March. It’s just water with green food colouring, gold glitter, shamrock confetti, gold coins, plastic shamrocks and green and gold flat marbles.
Great for exploring sink and float and capacity! They could also sort the items into pots or read the numbers/number sentences on the pots and put that many of an item into the pots too. Lots of math at a water table!
4. WATER BOTTLE CAP SHAMROCK ART
For this activity, students are invited to create shamrocks with the top of a plastic bottle (the cap) by dipping it into green paint. Then they will add the stems with green paint with a paint brush. Finally they will be encouraged to record the number of shamrocks they painted!
Our kiddos love to paint so I think this activity will be popular! If you want to grab the recording sheet you see in the image above, you can click here or on the image below to grab it for FREE:
5. ST. PATRICK’S DAY THEMED PLAY DOUGH TRAY
This was a simple play dough tray that we set out the first week of March! They loved this one but I think next time to encourage more story telling I’ll add in some peg dolls and maybe some green popsicle sticks to encourage more building!
Sources:
Pots: Party City
Plastic shamrocks: Dollarama (a few years ago)
Gold beads and flat marbles: Michaels
6. DECOMPOSING WITH RINGS
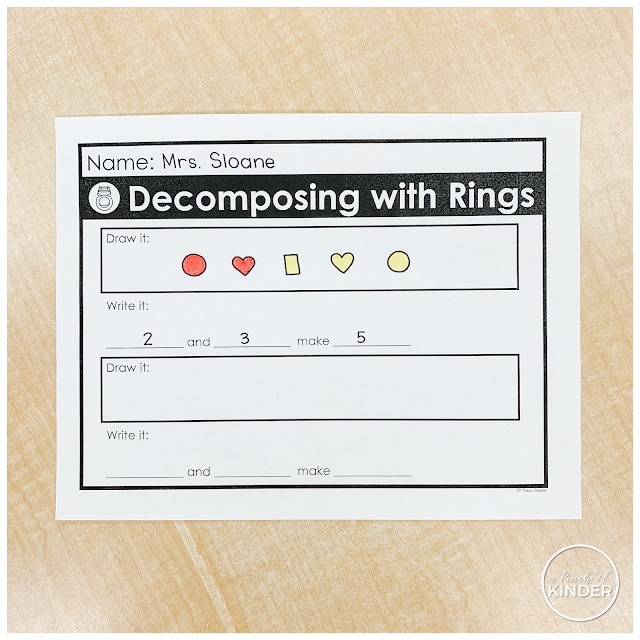
I usually do this activity with unifix cubes but my new school does have them… so instead we used these rings I found at a dollar store and I made up a new recording sheet!
At first we tried this one…
But it seemed a little tricky for them to draw their rings on the hands so I made the one below and set it out the next day:
This one was much easier and a bigger hit with the kids! Both versions have the writing portion with and with out the words in the free download so you can differentiate for your kiddos!
Click here or on the image below for the free printable!
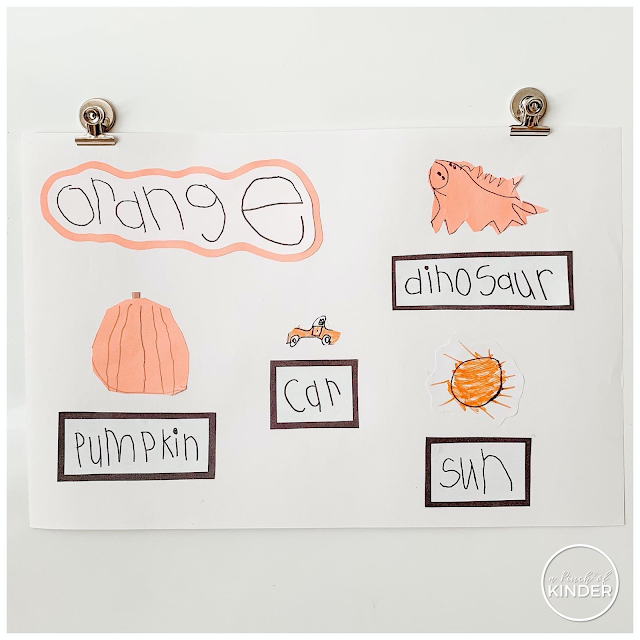
7. COLOUR ART + CO-CREATED COLOUR POSTERS
I found this activity in a new book I’m reading “STEM Play: Integrating Inquiry into Learning Centers” by Deirdre Englehart and Debby Mitchell.
If you are interested in checking the book out, here is a link: https://amzn.to/34h4VU8
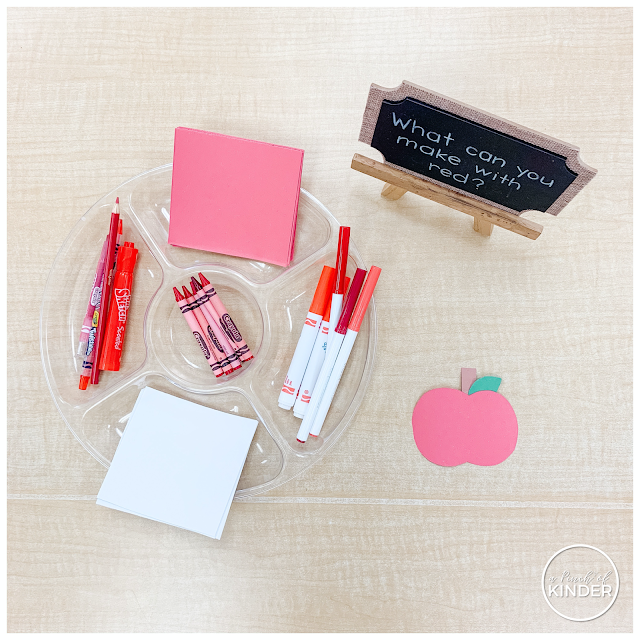
Anyways, you set out materials with one colour at a time and invite students to make something with that colour! I made an apple for red as an example since it was our first colour.
Before we set out the activity, I explained it and then we brainstormed as a class things that were red. I also told them I would leave a bin at the centre and when they are done they could place their work in the bin. They would get to share their work at the end of centre time and some of the pieces will go on our new colour posters!
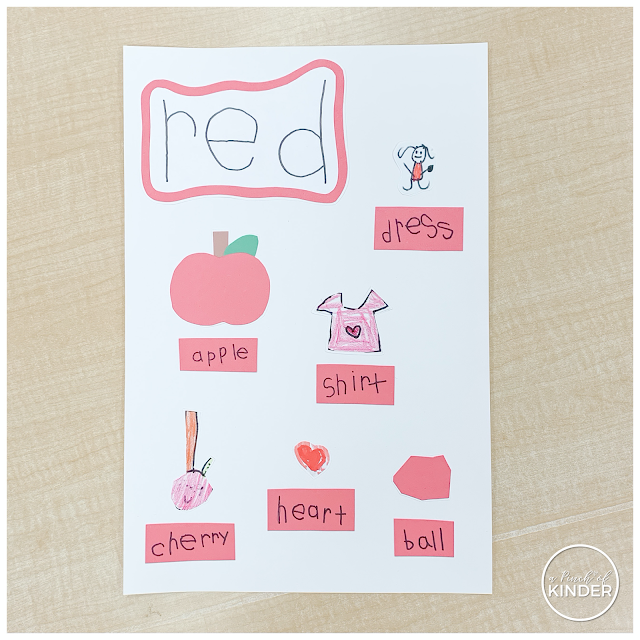
We left this activity out for 2 days and after we shared ad decided on which pieces to add to our poster, I had a few students come and write the colour word and words to go with each picture.
At first we made it like this but when we put it up we found that it was hard to see the label words on red construction paper…
So when we did orange, we change the labels to black writing on white paper with a black border and that was MUCH clearer to see from far away! (We needed these to be as clear as possible since we are posting these pretty high in our classroom).
We fixed up the red poster to match the orange poster and we were working on yellow before March Break but now the project is put on hold until we can go back to school😢
That was our March until March Break!
Wishing you all health and safety!
– Yukari


