Five for Friday: January 13
Hi guys!
Happy New Year!
I’m back for a quick recap blog post of the week and to share some random freebies.
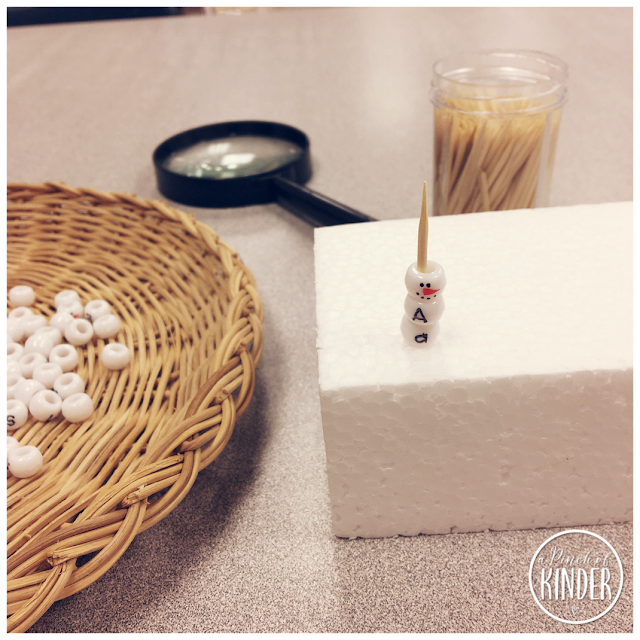
1. PONY BEAD SNOWMAN ALPHABET MATCHING
I saw this idea on Instagram (but now I can’t remember who posted it.. if it was you, let me know so I can give you credit!) and it was just tricky enough to be good fine motor practice for the kids.
I wrote all uppercase letters, all lowercase letters and 26 snowman faces on white pony beads with thin-tip sharpies. Then I stuck 26 toothpicks on styrofoam blocks. I had the kids find all the lowercase letters first, then find the matching uppercase letters and then add the head.
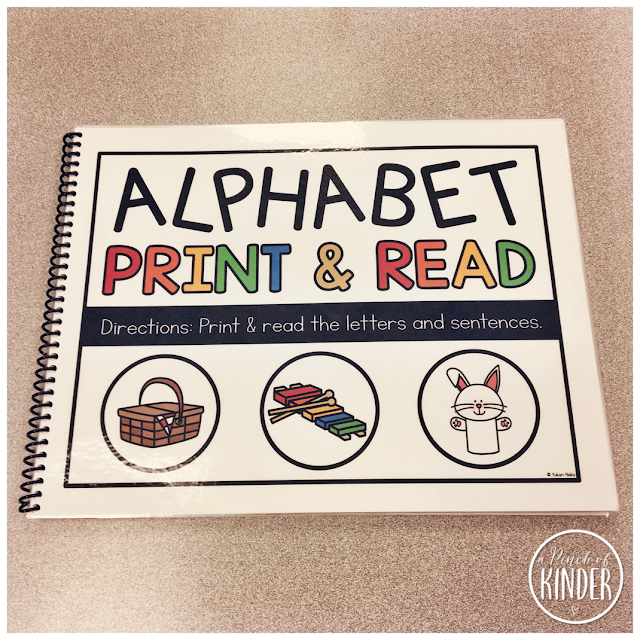
2. ALPHABET WIPE-ERASE BOOK
More than ever, the kids in our class this year love dry-erase centre! We always have whiteboards out at this centre so they can draw/write whatever they want but I also add in some skills that I want them to work on as well.
We have been working on this more simple alphabet books but I felt like some students were ready for more. So I had this new one ready to go for the first week back!
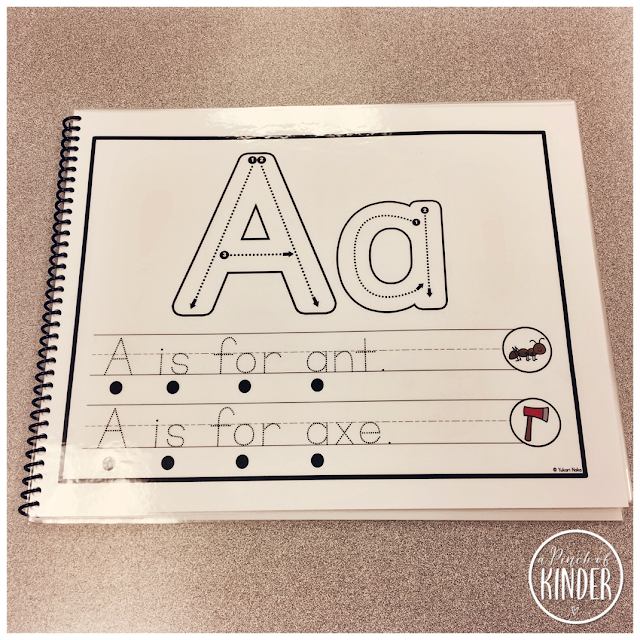
The kids who need the formation practice and the larger size still have it at the top, but there are sentences at the bottom too. They are predictable (they are all __ is for __.) and have a picture cue at the end to help emergent readers. The tracking dots will remind our emergent readers to track print and use beginning sounds too 🙂
If you want to try this book with your kiddos, you can find it here.
3. ALPHABET SAY, FIND & WRITE
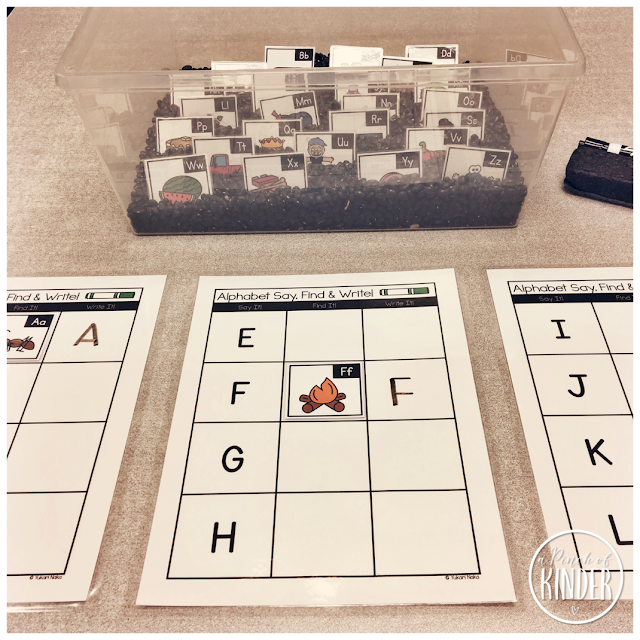
Here’s another centre I made over the holidays and had ready to go for Monday. I’m always looking for ways to make letter identification/formation fun & hands-on so here’s what I came up with!
I cut up the letter cards and put them in a bin with black beans. Then I put the mats on the table with dry erase markers. I had the students read a letter, find the matching card and then write the corresponding letter on the right hand sight. There is a tracing version too if that would work better for your group.
You can also put in more tactile letter manipulatives like wooden letters or magnetic letters if you have them!
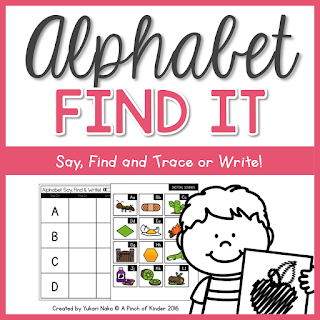
You can find this activity by clicking on the image below:
4. ARCTIC ANIMAL PROVOCATION
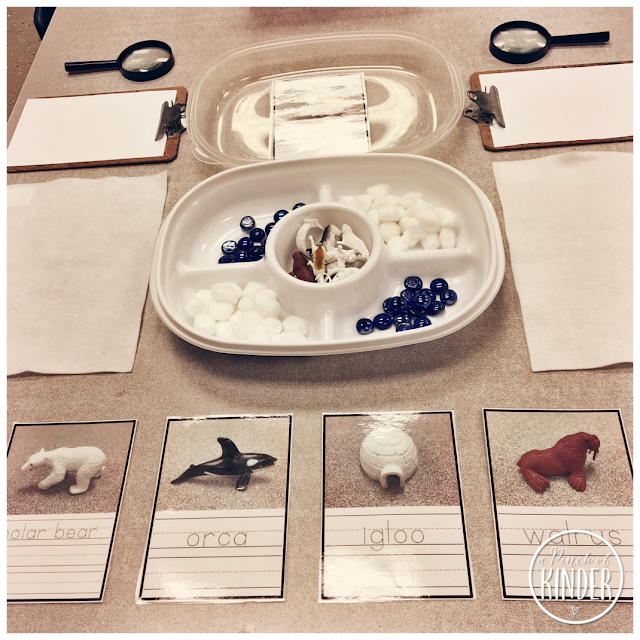
Since I wasn’t sure what would be the interest after winter break, I set out this arctic animal provocation to see if any wondering about arctic animals would emerge. Although the students don’t seem to be overly interested in the arctic animals they still had fun creating a habitat for the animals on the white felt using cotton balls (snow) and blue flat marbles (water), recording what they see on the paper and matching the animals/igloo to the dry-erase cards and of course practicing writing the names of the animals on the dry-erase cards!
I think I will keep this out for one or two more days and then try a new provocation to see if that sparks more interest!
I got the mini animals/igloo’s at Michaels. It is called the Arctic TOOB by Safari Ltd. If you want the wipe erase cards to go with the toob that you see above scroll to the bottom to download it in the big freebie file at the bottom!
5. STUDENT-MADE MATH GAMES
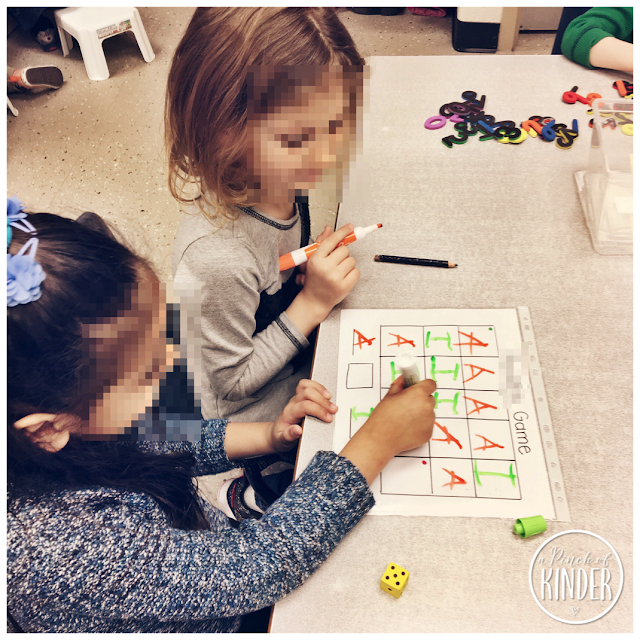
“A” drew a grid on a whiteboard earlier this week and brought it to me, telling me that she had an idea for a math game. She explained her idea and I asked her some questions so she could clarify her thinking.
Her idea was that you would write the first letter of you name in the box and whoever had the most letters at the end would be the winner. I asked her how we would decide how many letters you get each time and she decided that you would use a dice. Then I asked her how we would decide who would go first and she said you roll the dice and whoever got the bigger number goes first!
We practiced the game once on the whiteboard but decided that the whiteboard wasn’t very efficient since we would have to redraw the grid each time. So we created a more permanent game board with paper and a sheet protector (what you see above).
The next day we taught the other kids how to play! Then we made a list of all the kids who wanted to play A’s game and A called the kids to play during centre time one at a time. She did a great job teaching the kids and they were all so engaged!
Here is how to play the game if you are interested:
1. Put the first letter of your name on a dash at the bottom of the game board
2. Both players roll the dice, the person who gets the bigger number goes first
3. Player #1 rolls the dice, looks at the number and writes the first letter of their name that many times
4. Player #2 rolls the dice, looks at the number and writes the first letter of their name that many times
5. Continue to play until you fill all of the boxes
6. When the boxes are full each player counts how many letters they have and write the number beside the initial at the bottom
7. The person who has the bigger number is the winner!
BONUS: FREEBIES!
I have a bunch of things I have been creating and using but haven’t had the time to photograph. So here is a bunch of things I hope you might be able to use in your classroom!
Included are:
p.1-15: 2 types of 1-10 Play Dough Mats
p.16-17: CVC Word Practice Sheets
and
p. 18-22: Artic Toob Vocabulary Cards (mentioned above)
You can grab all of the above by clicking on the image below:
I’m linking up with Kacey for her Five for Friday link-up.
You can read more Five for Friday blog posts by clicking on the image below:
Happy Weekend!


